Rapid Prototyping
– Demonstrated with a Simple Example
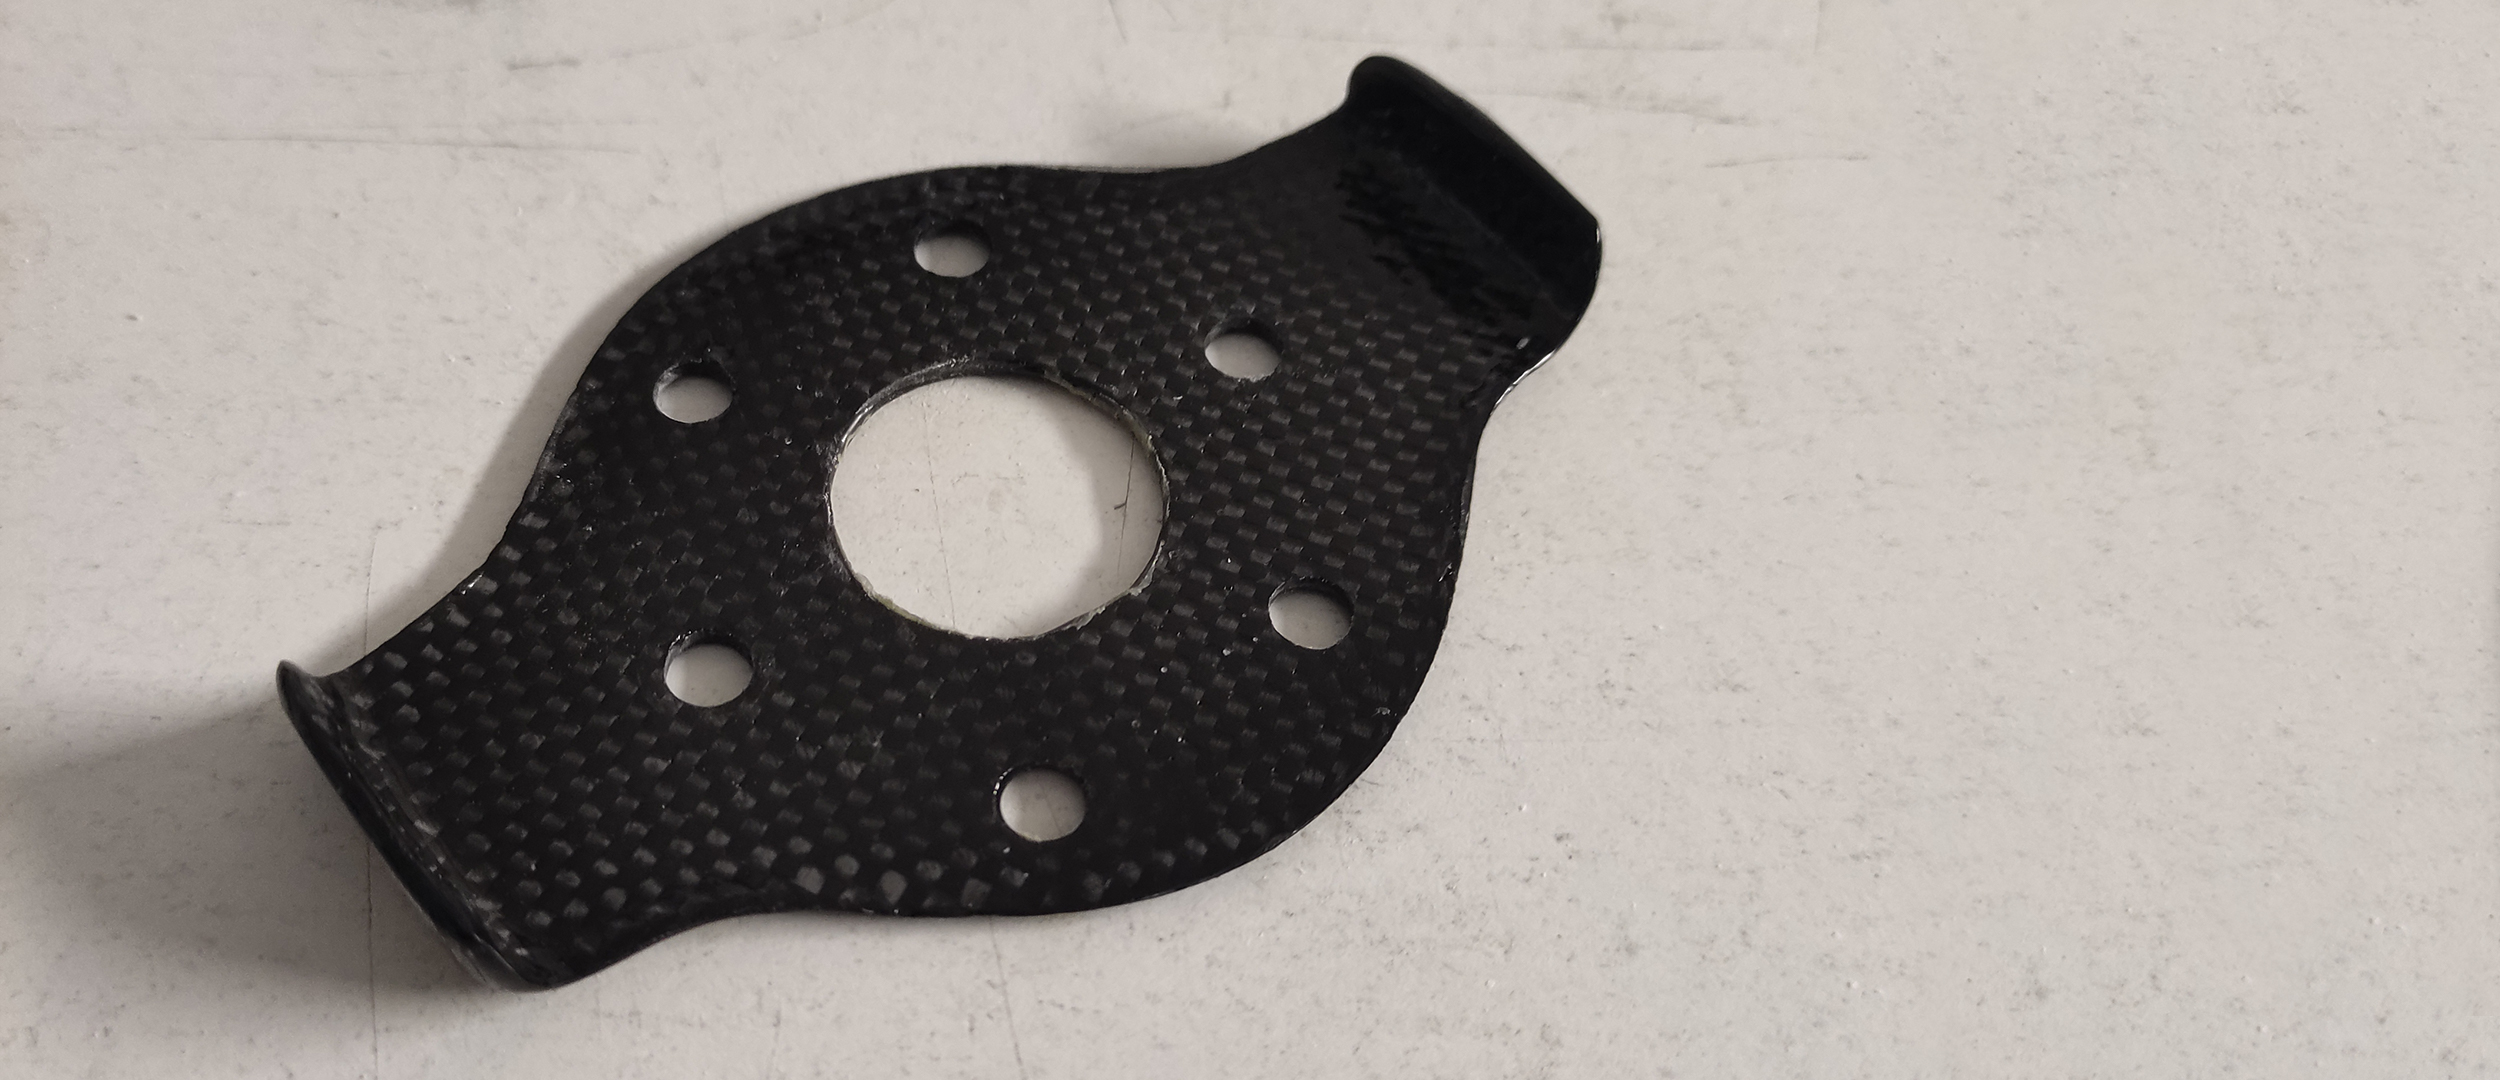
In this post, I will show you, through a clear example, how we can get from an idea to a functional product made of carbon fiber composite in just a few steps.
The task:
I needed a bumper plate for my electric rear motor to prevent the collision of the air screws when the motor is not rotating and the air screw is in a closed state. For the first prototype, I solved this with aluminum spacers.
A plastic coating was put on the aluminum bumper, but even so, significant wear occurred where it came into contact with the carbon fiber air screw. Additionally, because aluminum is rigid, there was a hard impact when the air screws closed, with nothing to dampen and gradually dissipate the energy.
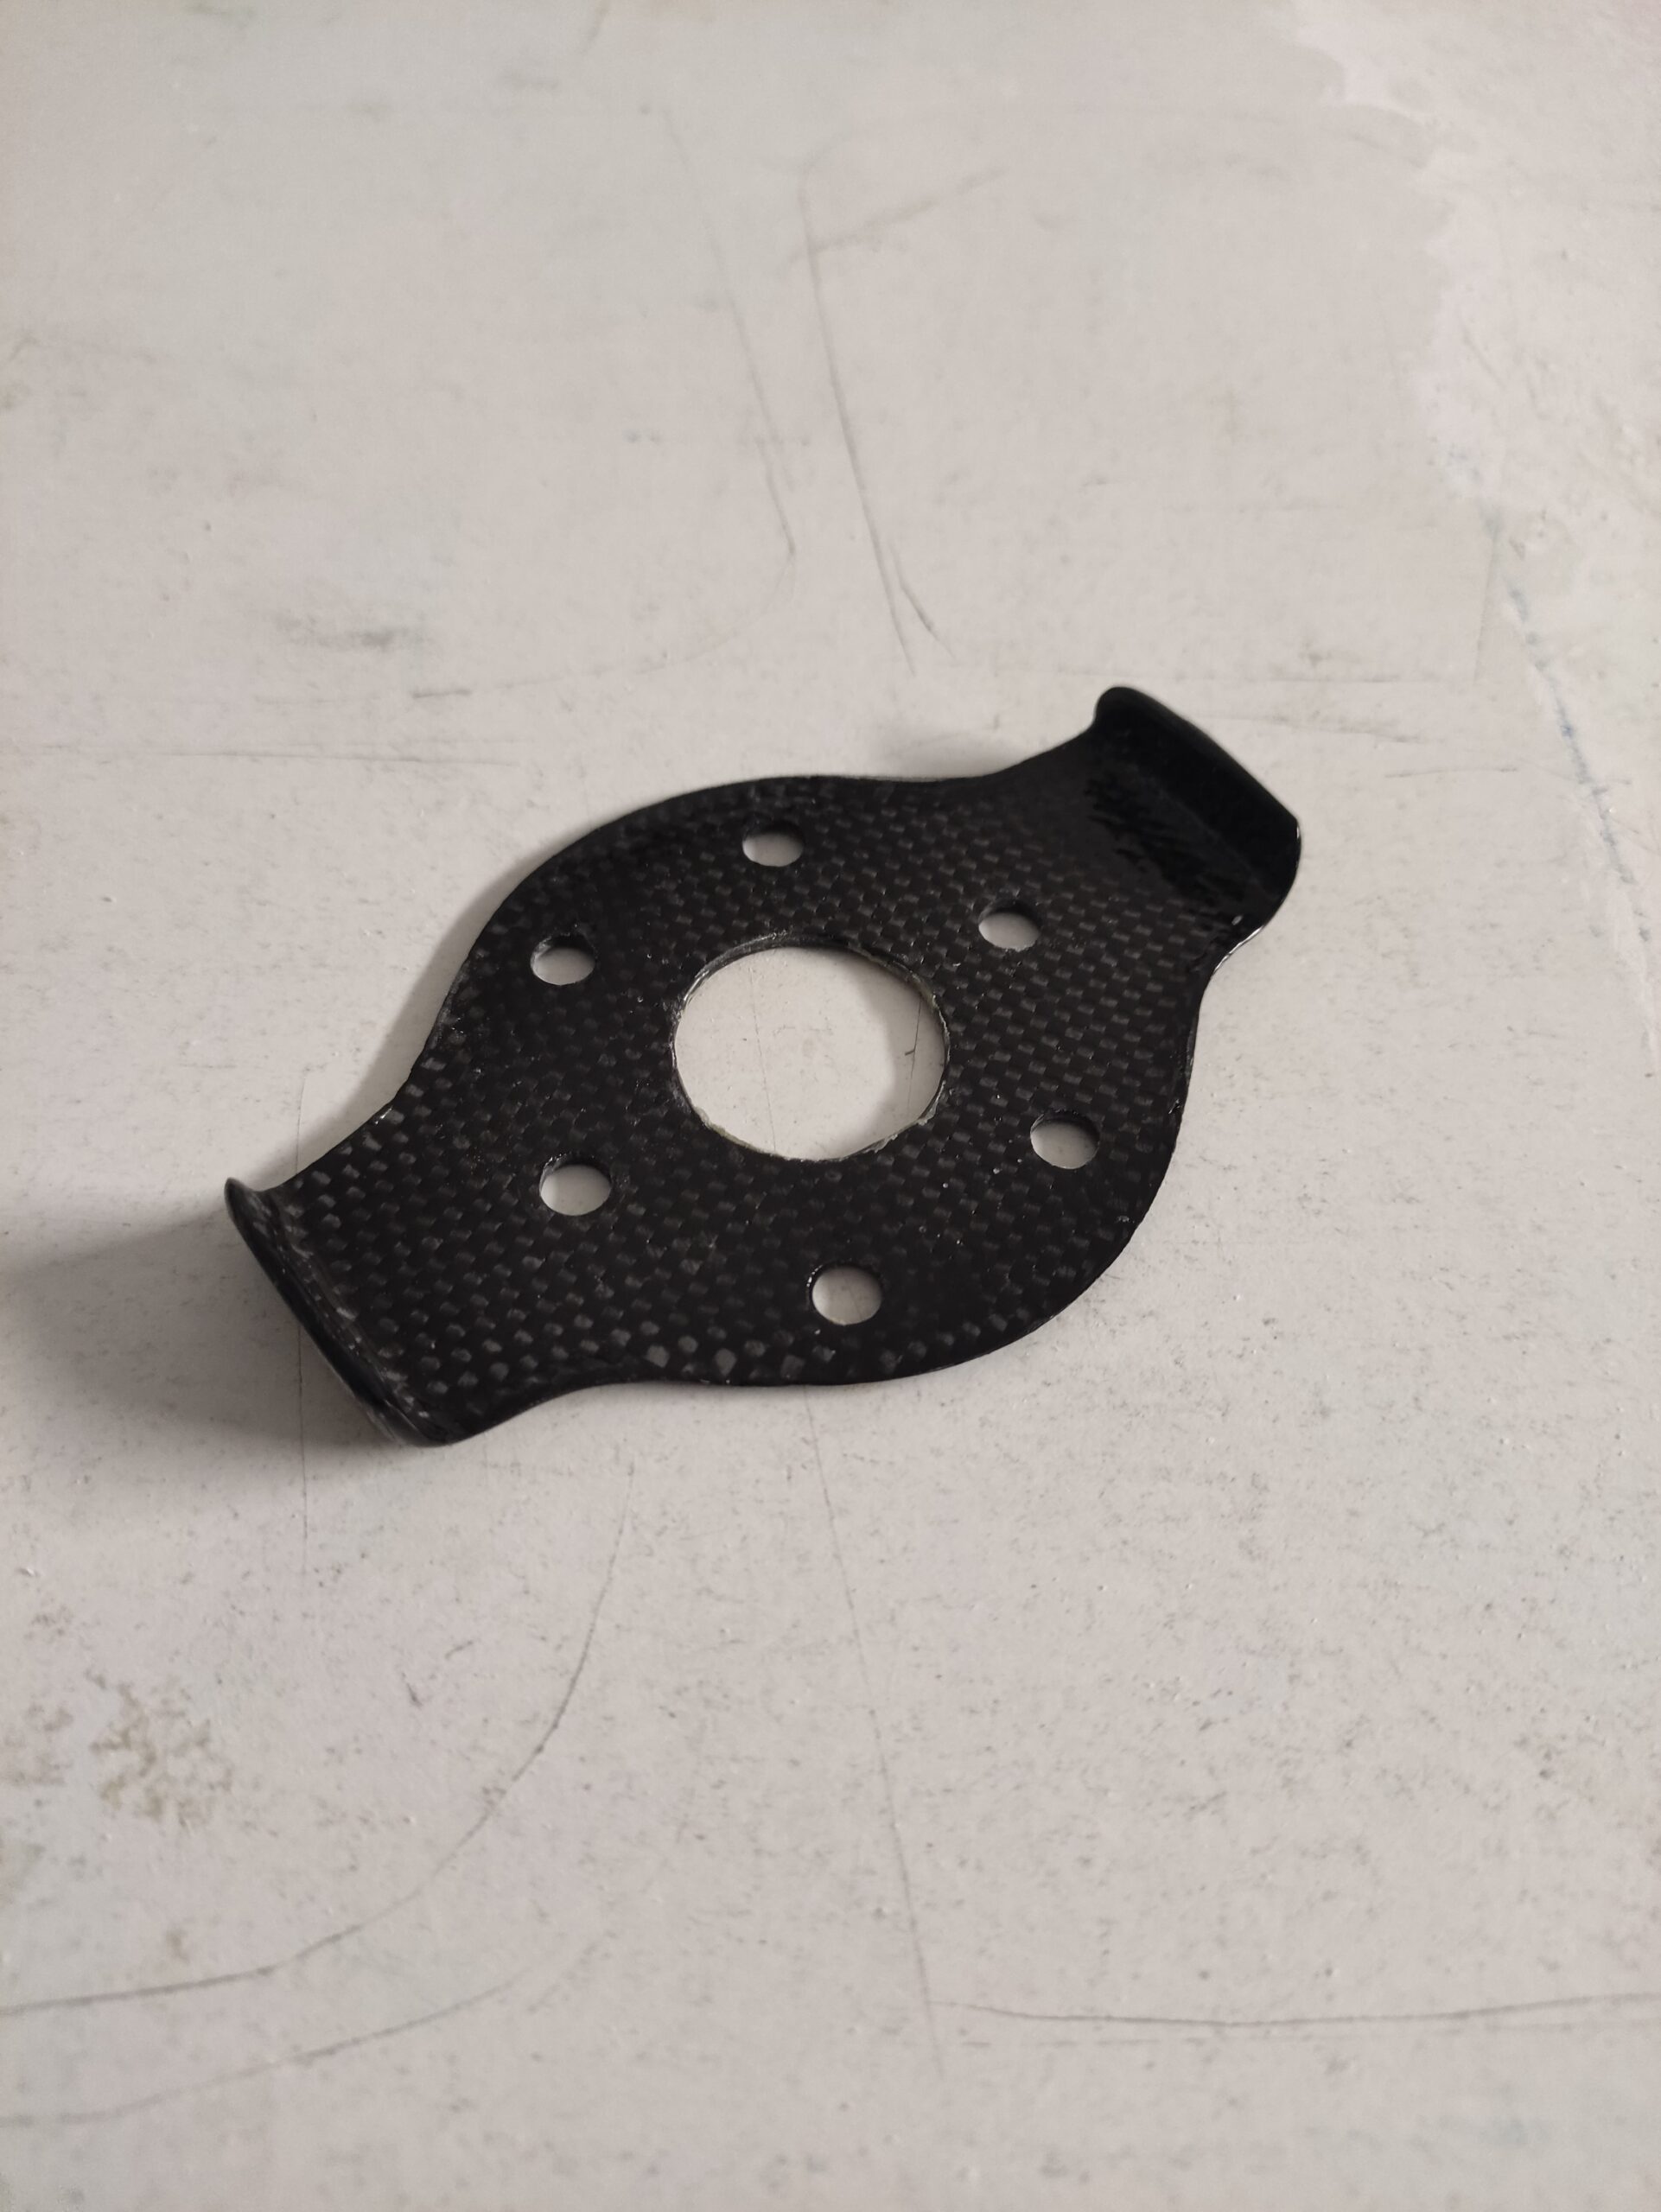
This is why the decision was made to have the bumper made of carbon fiber epoxy, so both problems would be solved and the end result could also be lighter and more aesthetically pleasing.
As I only needed one piece, I wanted a quick and cheap solution. That's why I decided to go with rapid prototyping supported by 3D printing.
The process consists of the following steps:
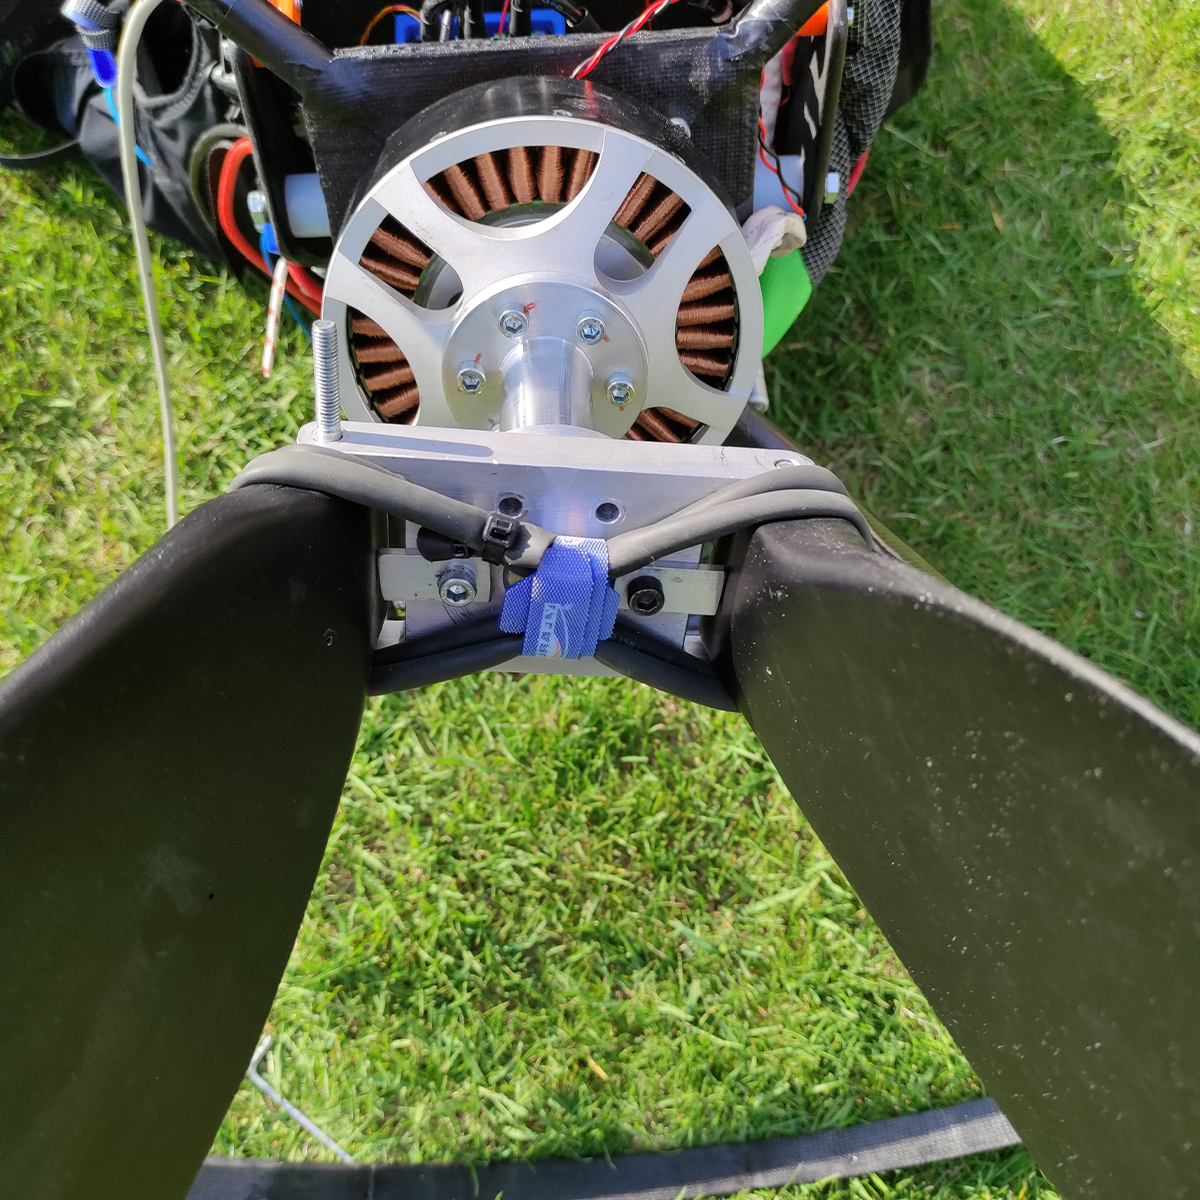
The first prototype had aluminum bumpers.

The 3D model of the bumper
First step
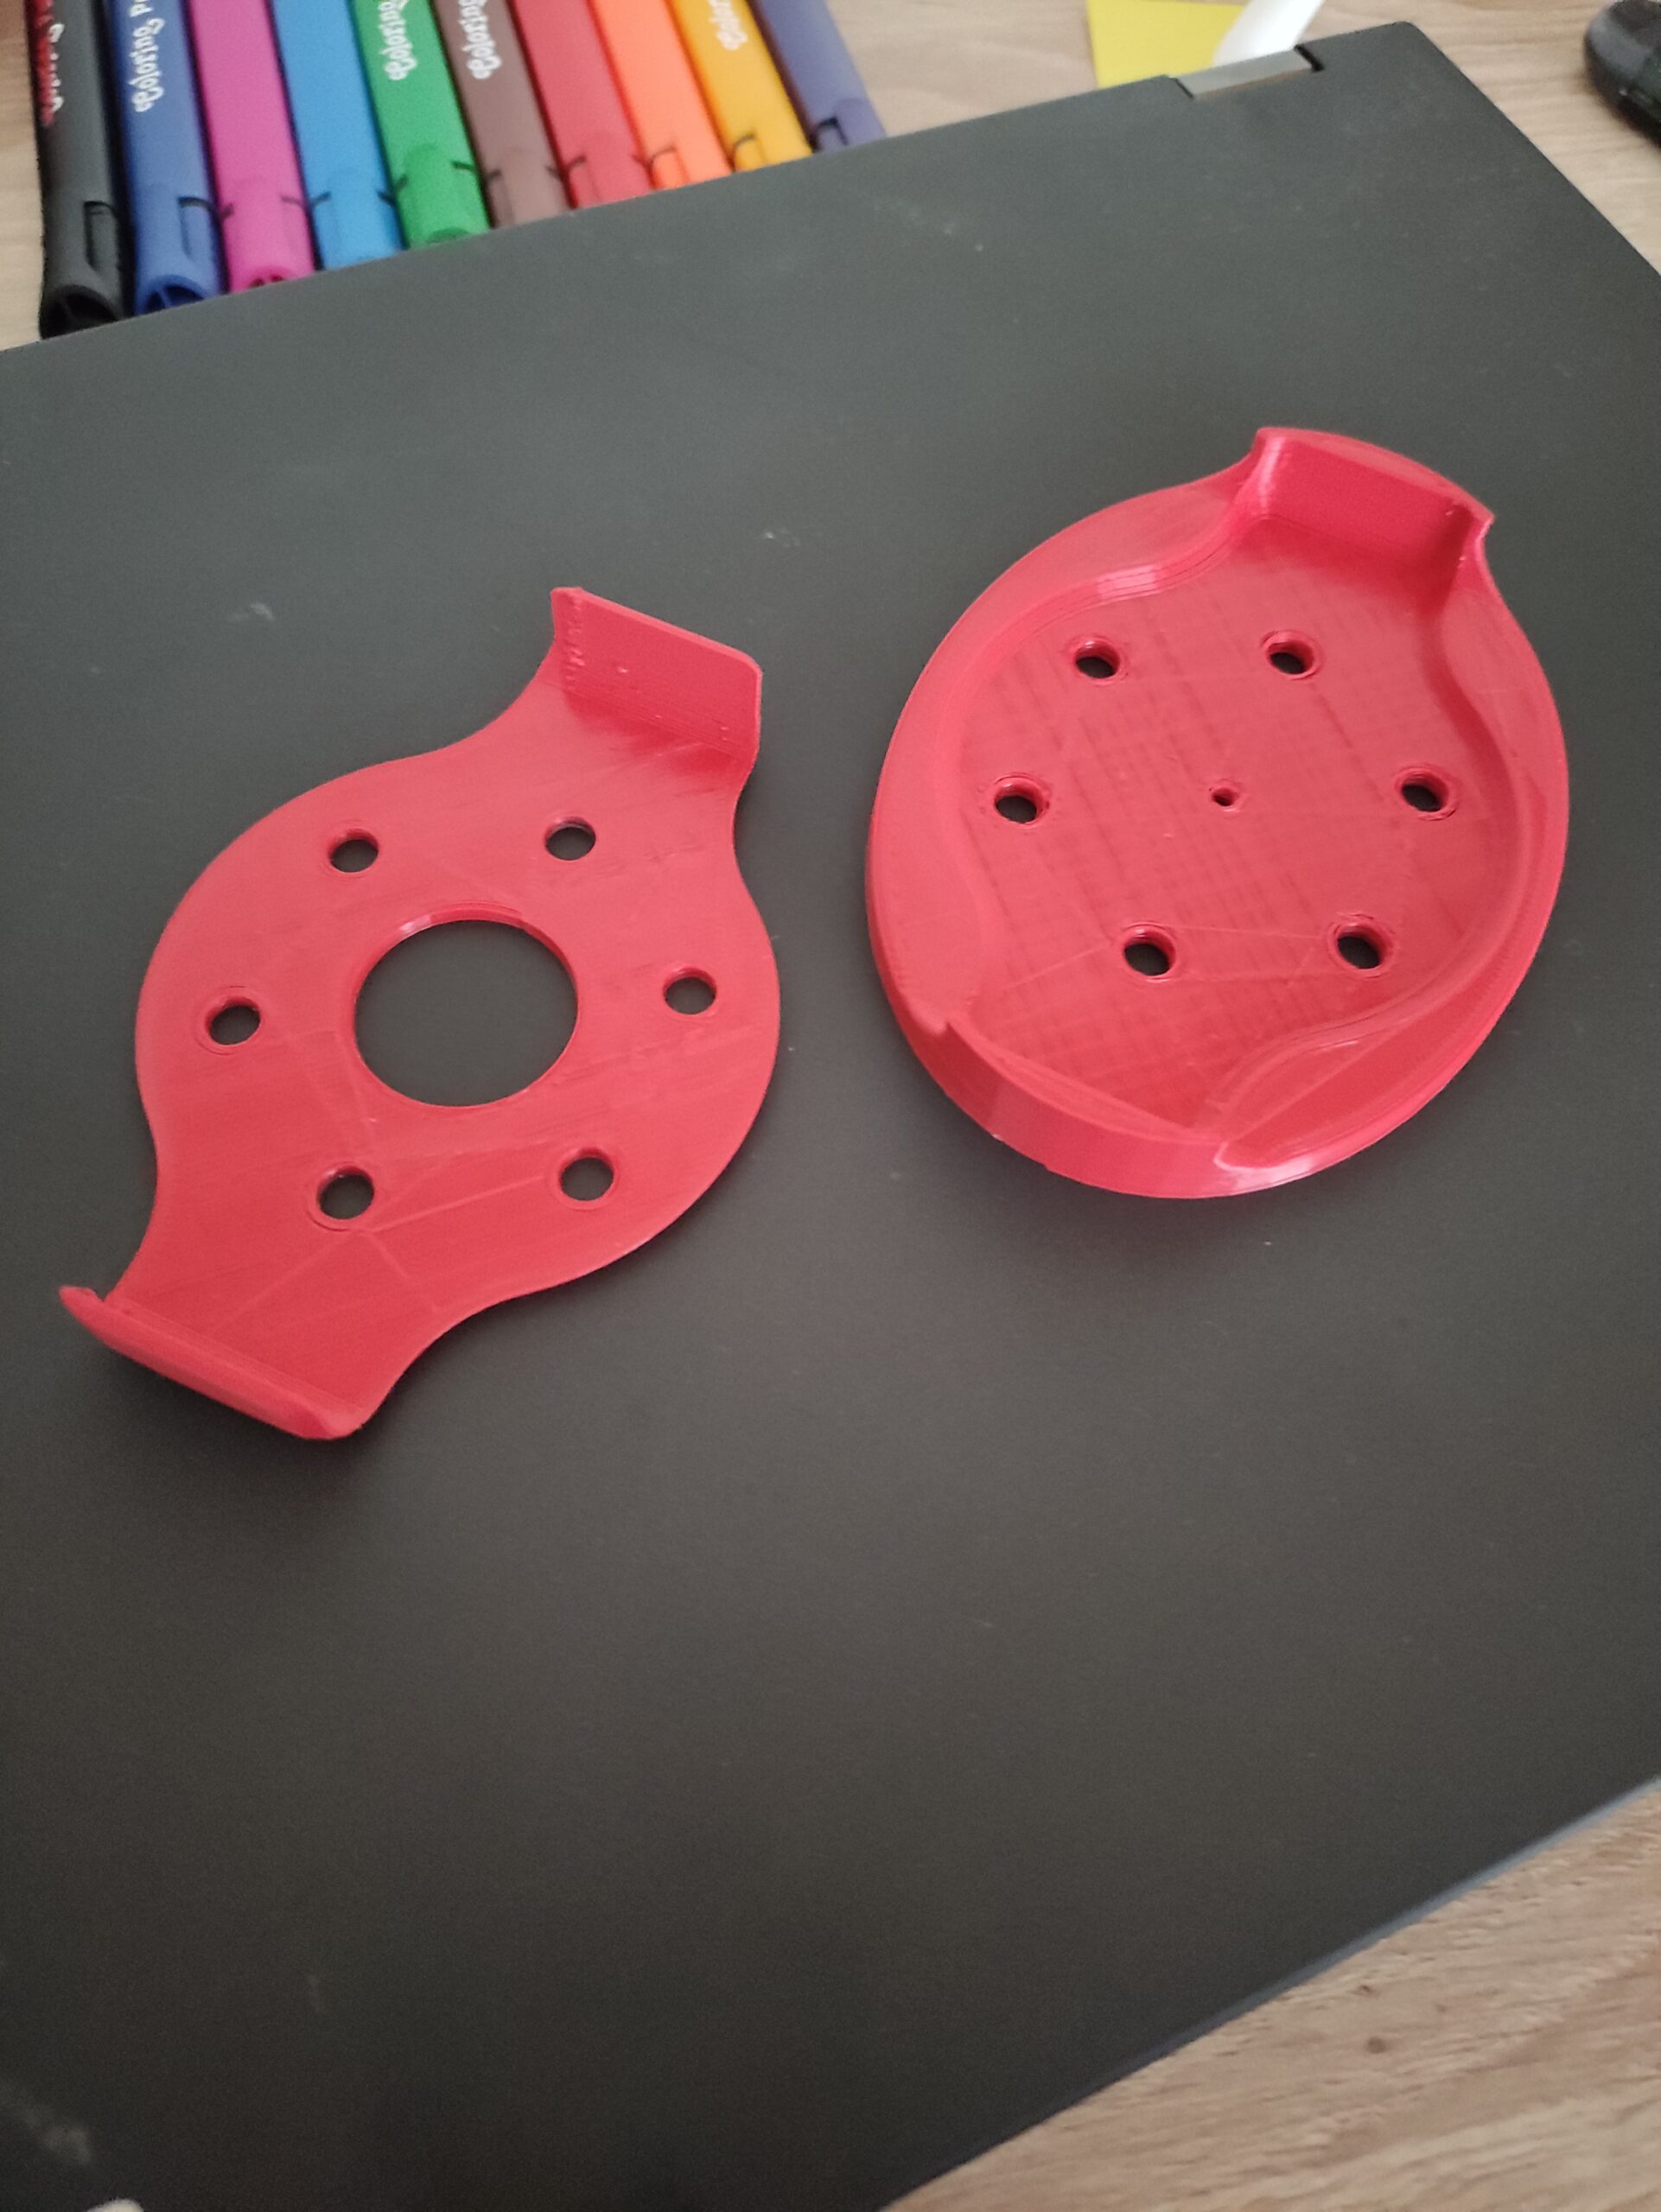
First, it is advisable to record on paper what the idea is, determining the main dimensions. Using a freehand sketch, I created a 3D model of the product, which I then printed out to check if it meets my expectations in its assembled state. It immediately became clear here that the basic idea was good, but the small flaps on which the air screws will rest are too long.
I reduced the size of the flaps in the 3D model, printed it again and tested the fit of the dimensions with a trial assembly. The dimensions were correct, so the model was only waiting to be made from carbon fiber epoxy and put in place.
The process took about 4 hours so far, including design and printing of test pieces.
Second step
A negative mold must be made from the finalized model, where the carbon fiber product can be made. At this point, the process could have taken two directions.
-
- If the goal was to produce more products, it would be wise to make a negative mold from the model (this is called a master mold) that is durable, for example, made of fiberglass-reinforced resin.
- The other option is to print the negative mold. A printed template can also be capable of producing multiple products, but it is not recommended for larger quantities.
Since in this case I only wanted to produce a single product, I chose the 3D printed negative mold. Using the 3D model of the bumper plate, I designed the negative mold and printed it.
This step, with design and printing, took about 3 hours to complete.
Third Step
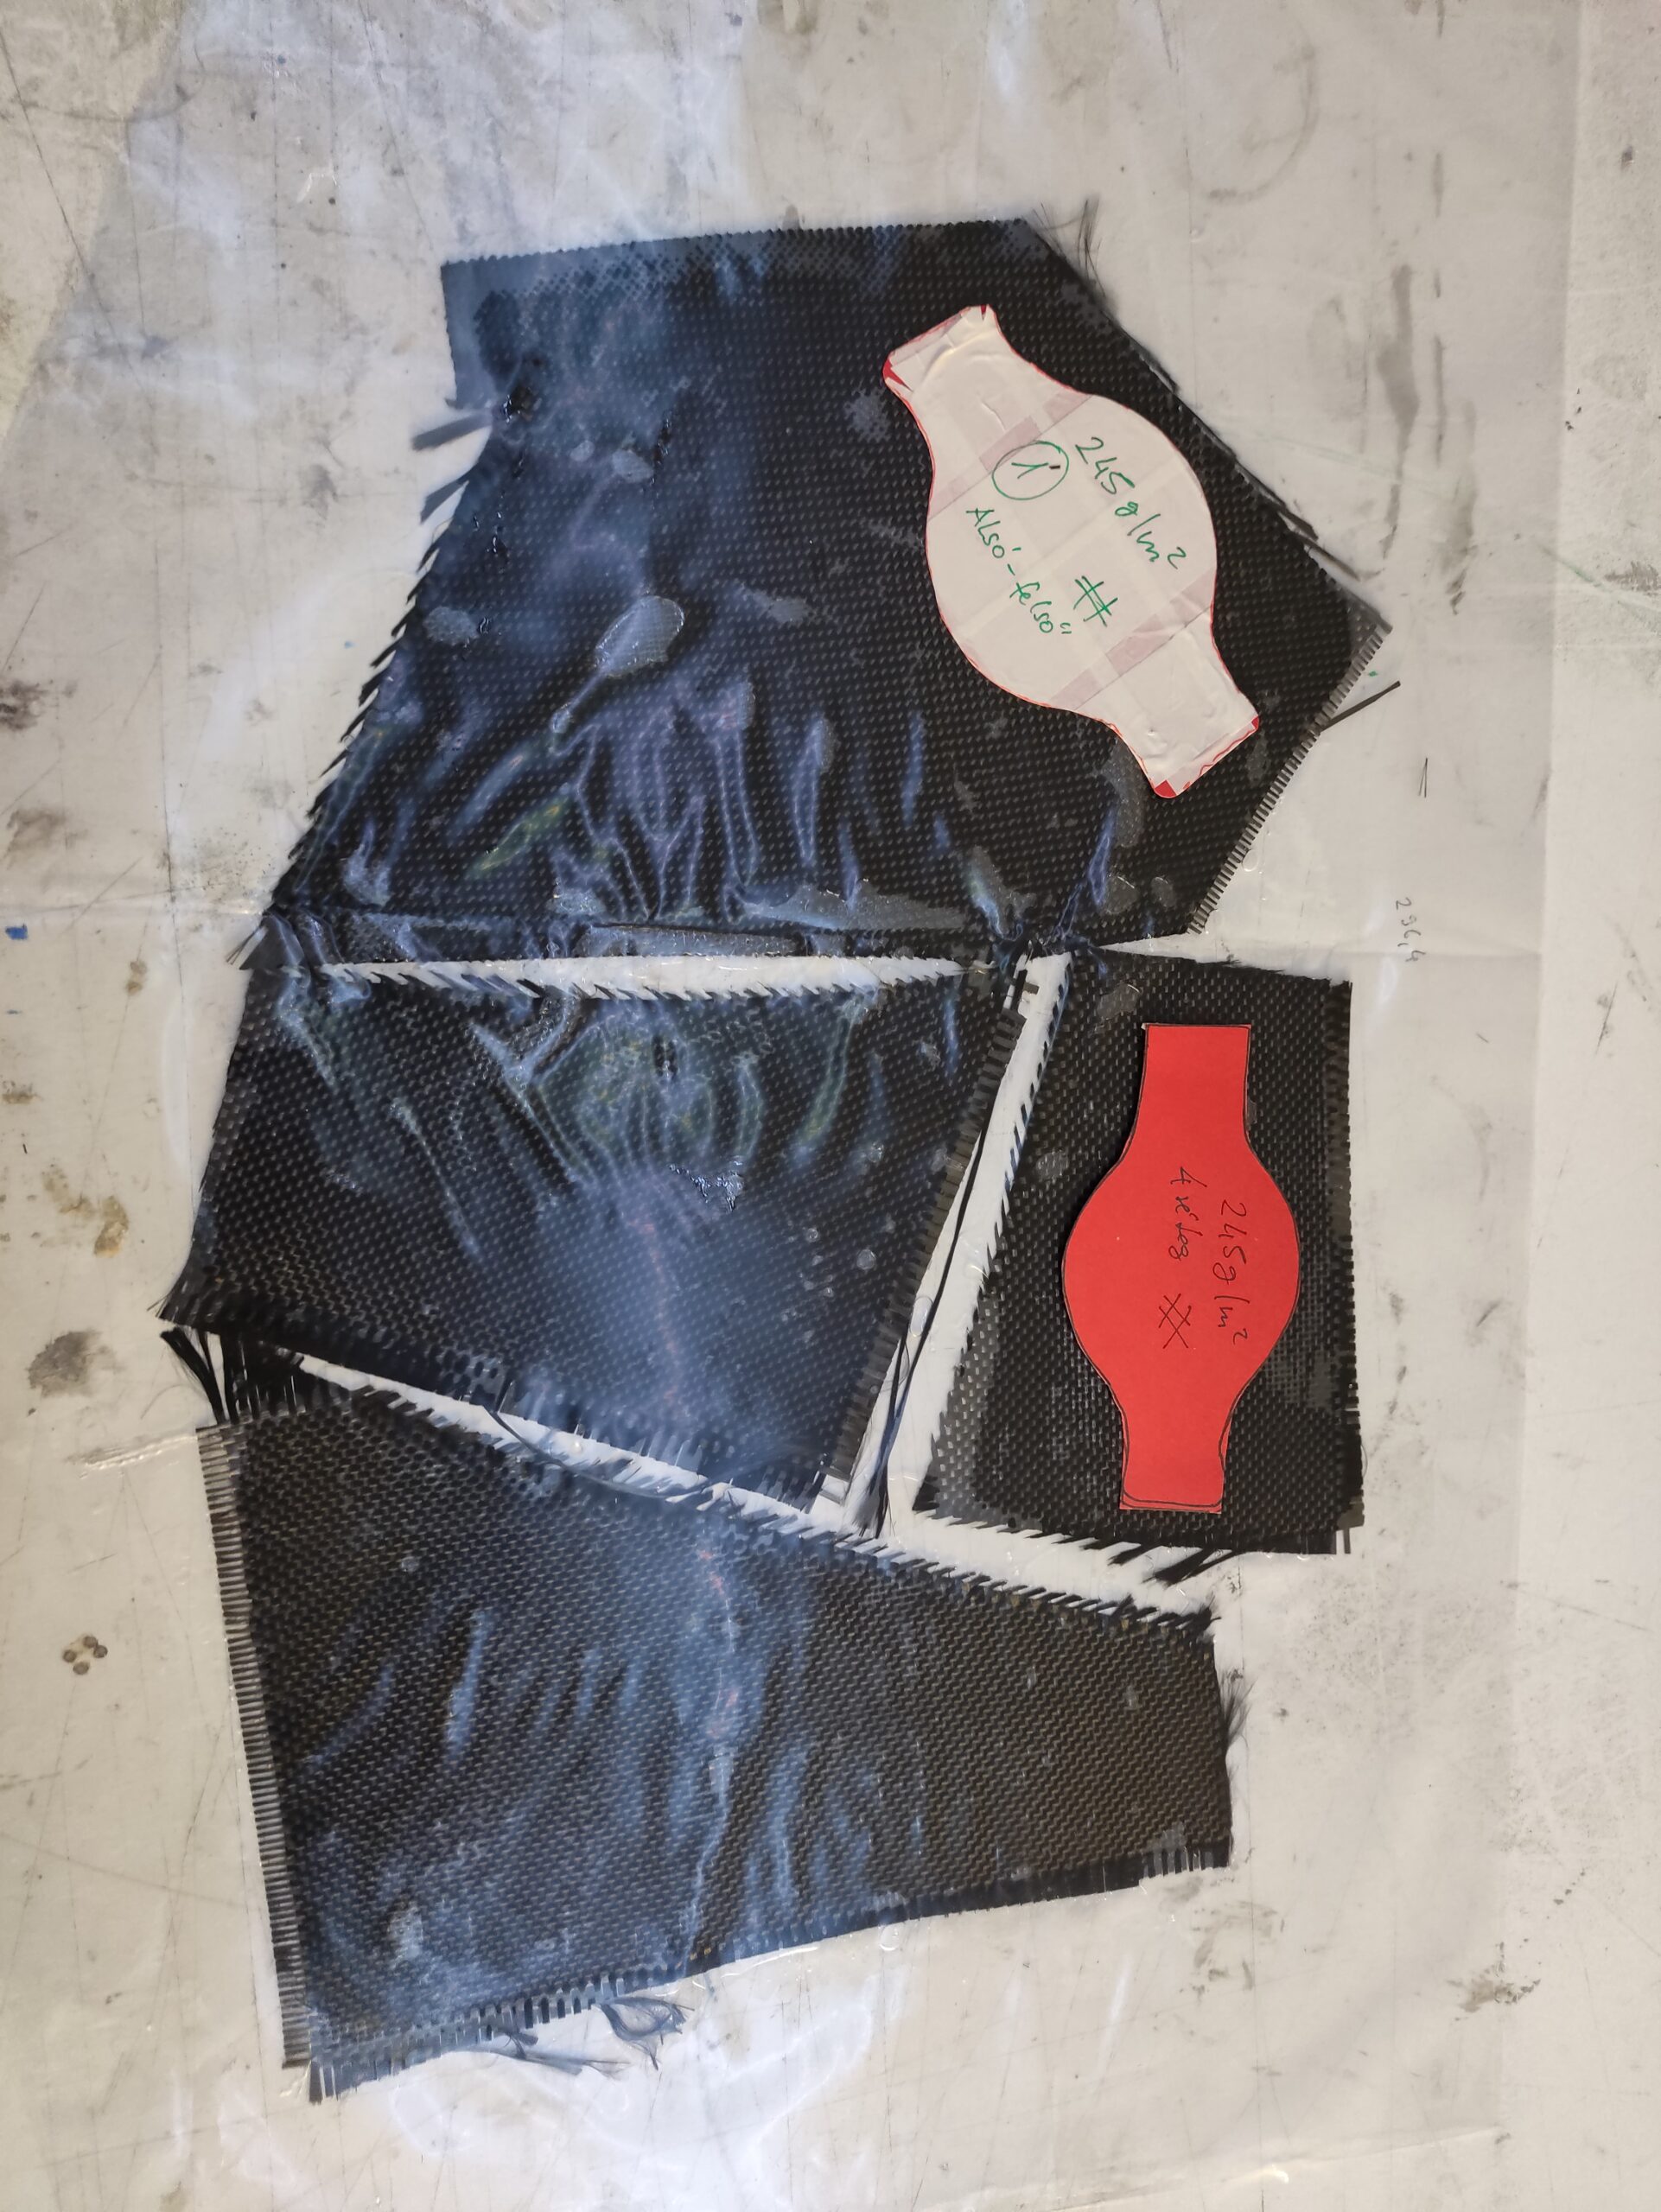
The third step was to produce the carbon fiber bumper plate. I treated the surface of the negative mold with a release agent. I determined the layer arrangement and number of layers of the carbon fiber material, and made a pattern for it.
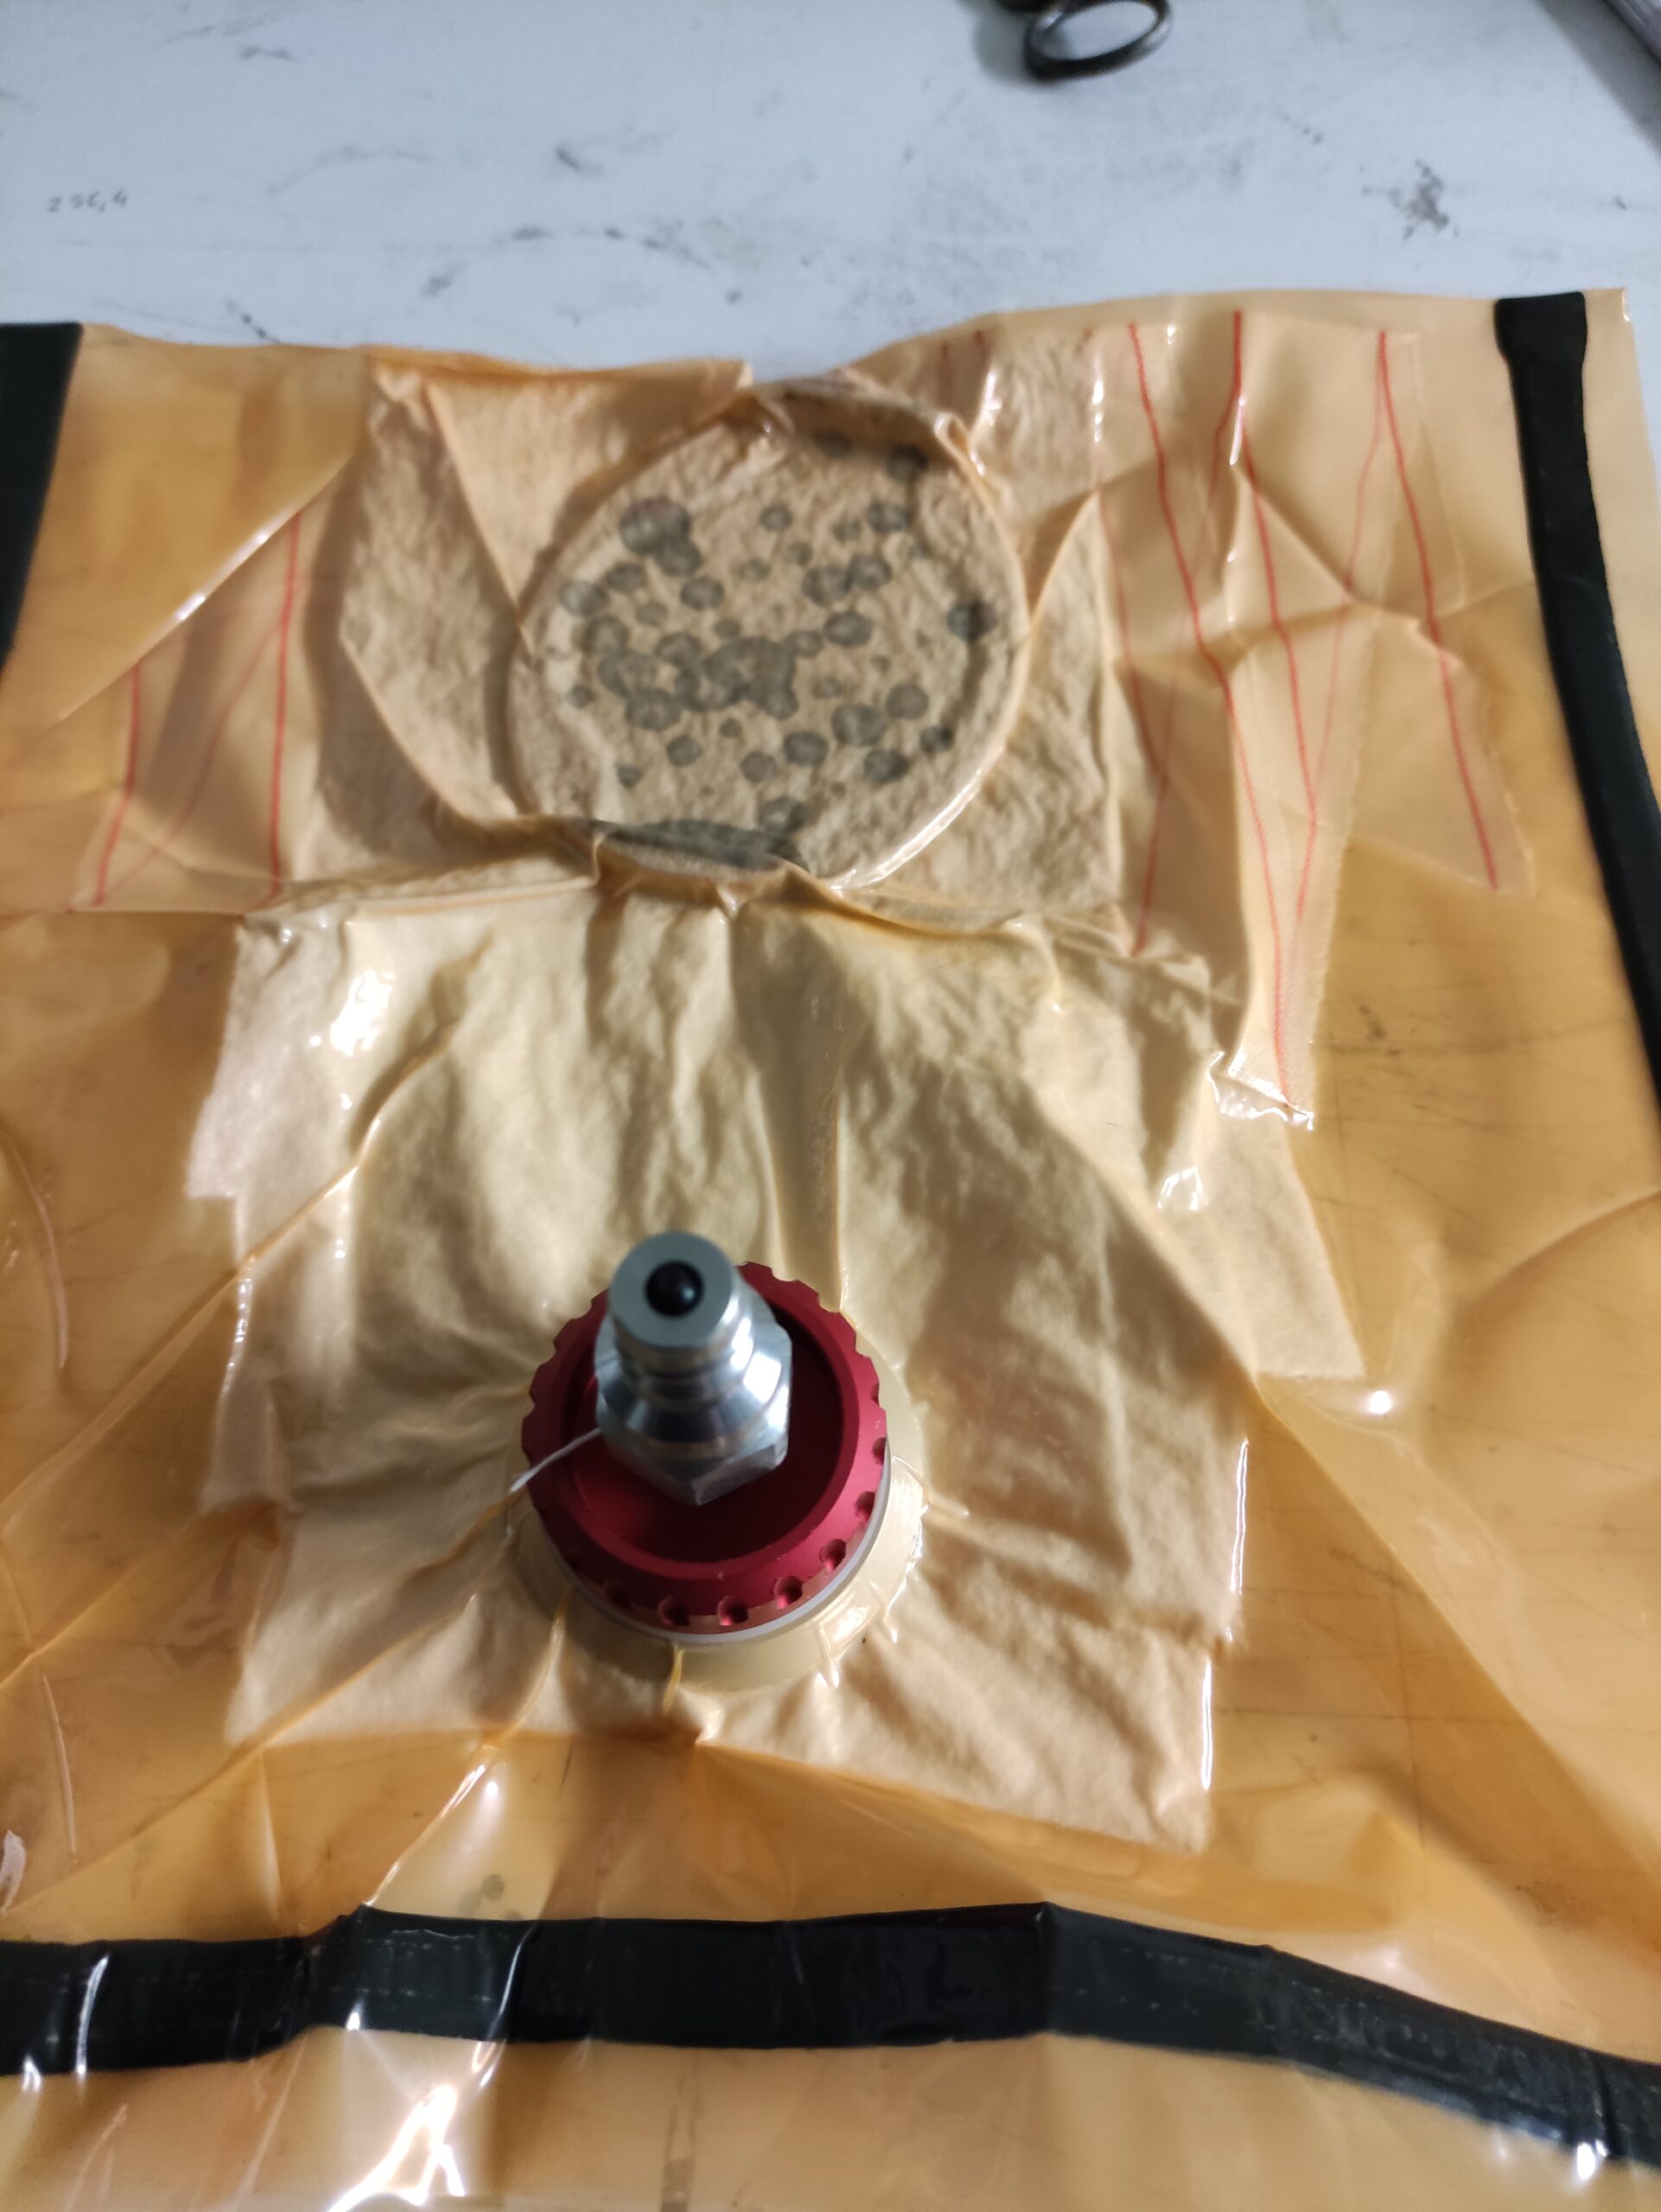
The pre-impregnated carbon fiber cloth was cut to size and placed in the template, then took on its final form using vacuum bag technology with epoxy resin.
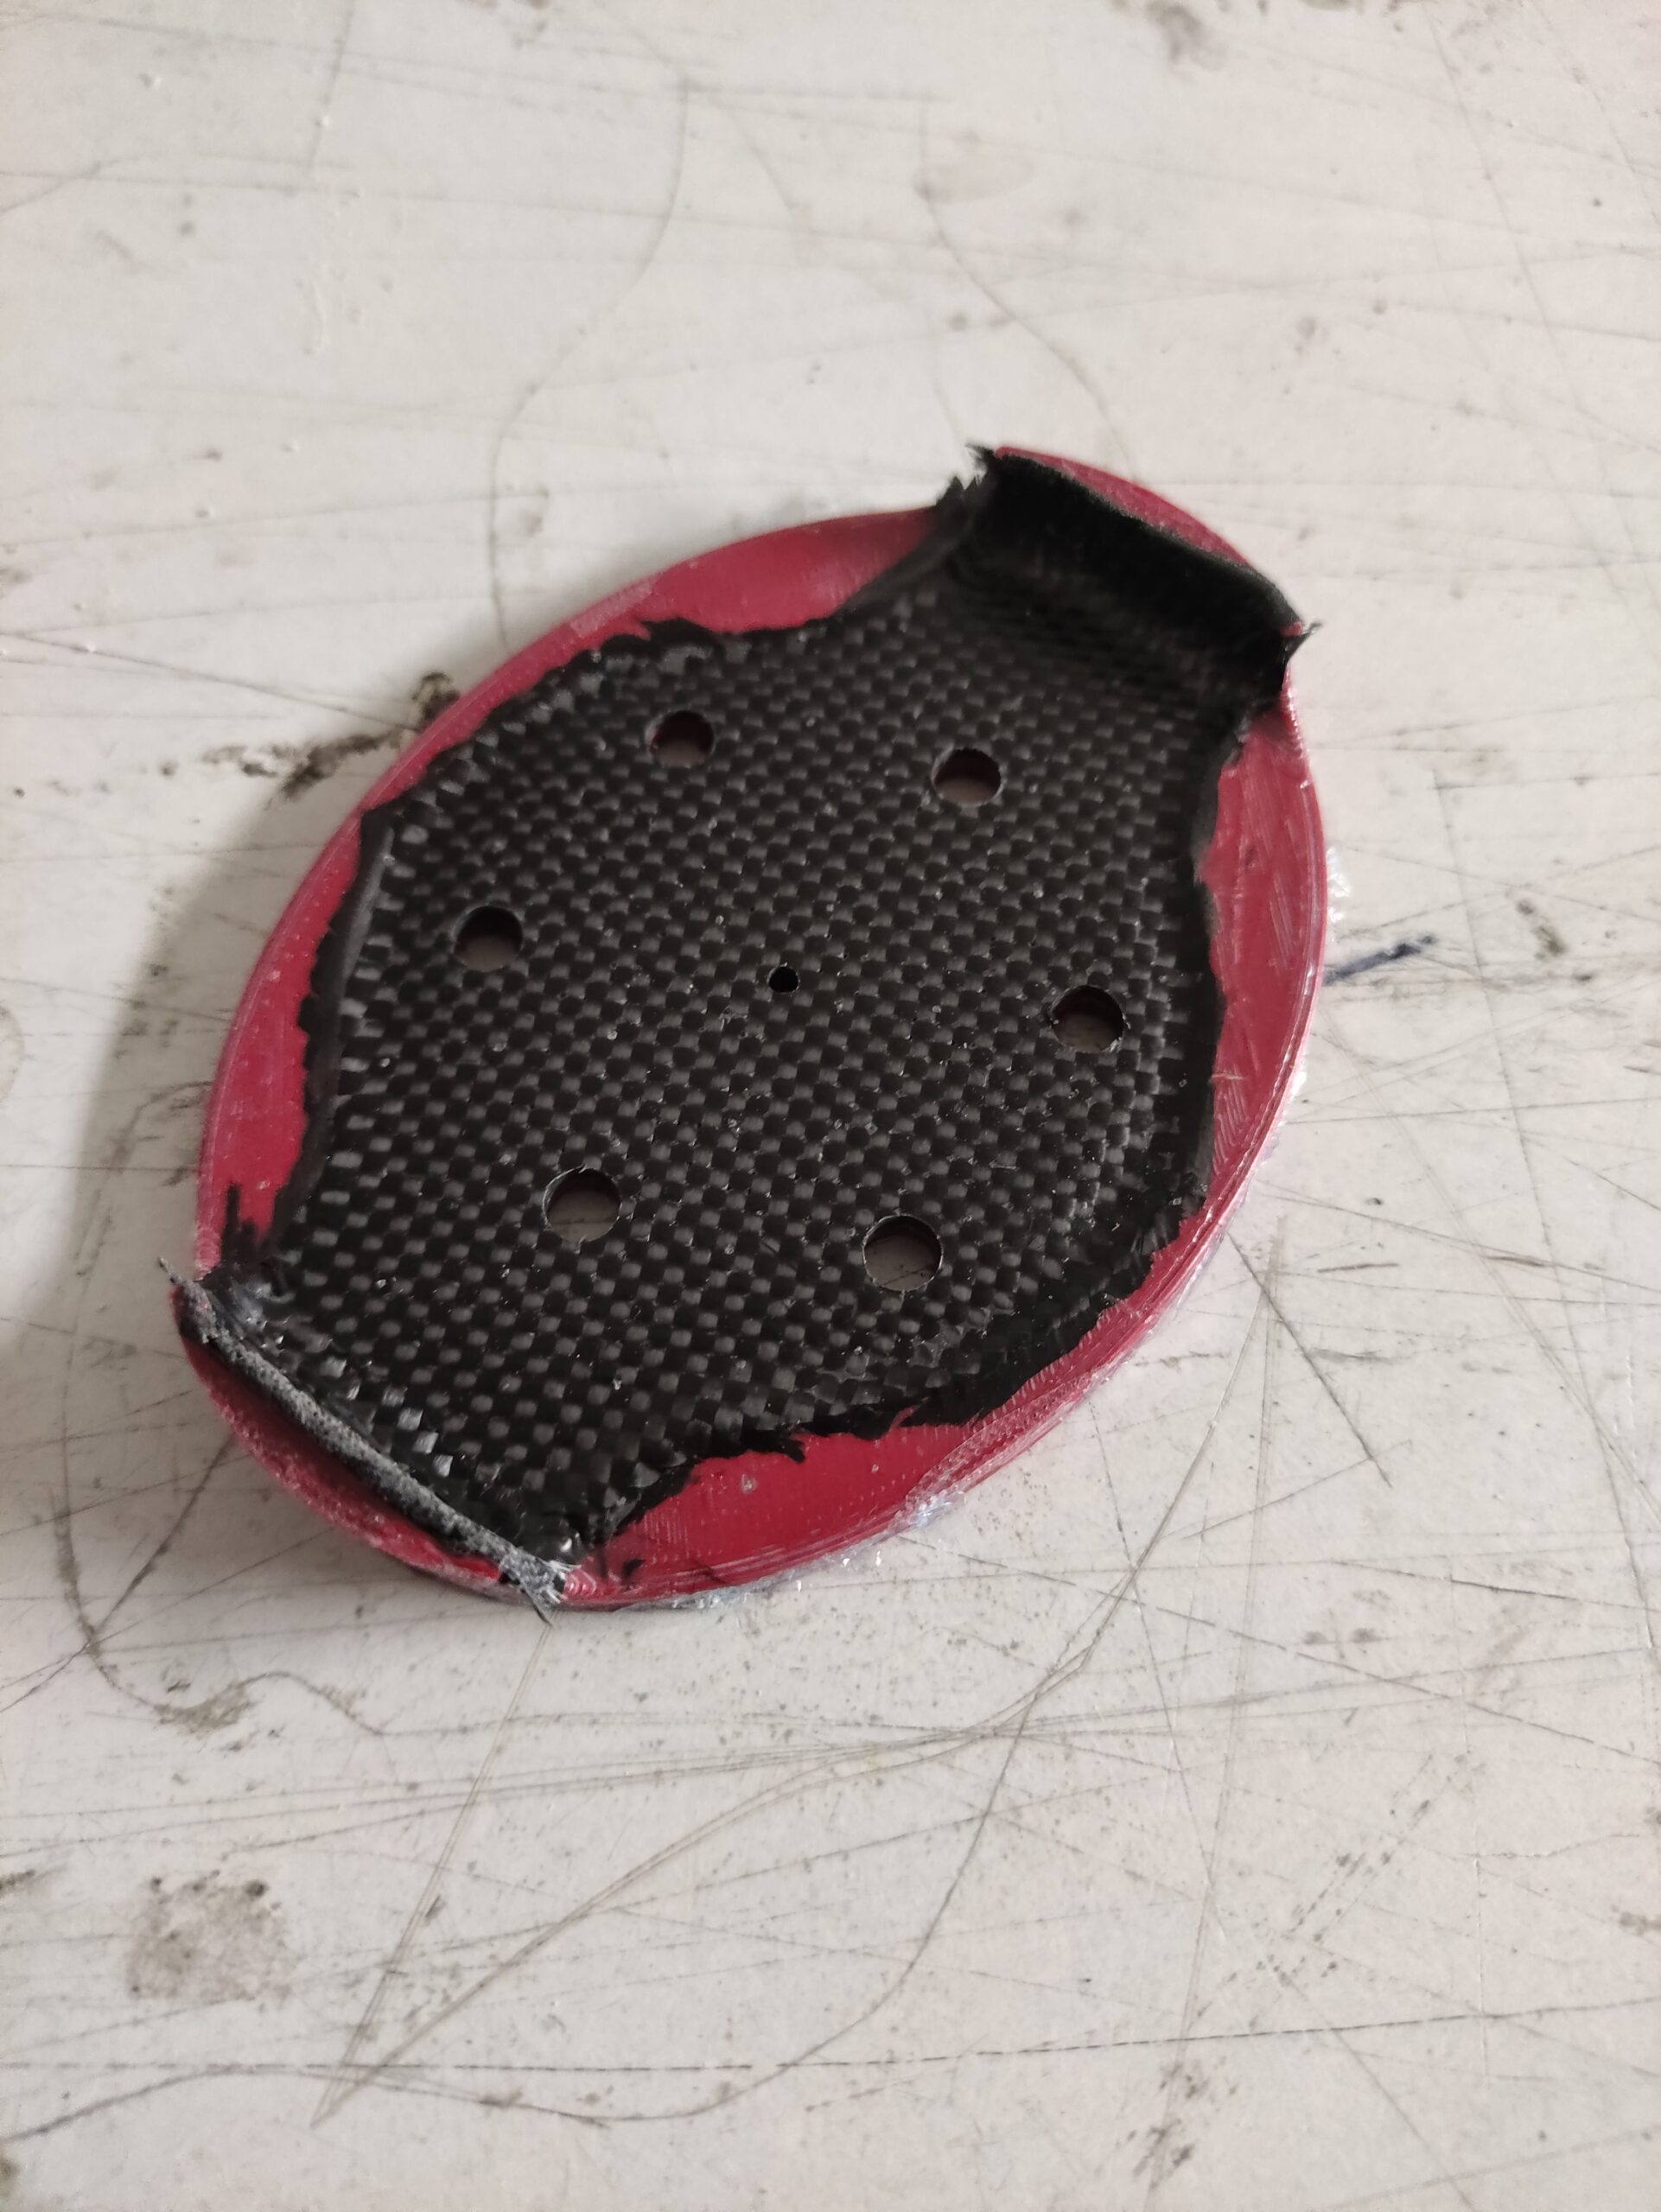
After the epoxy resin cross linking reaction, I removed the carbon fiber bumper from the mold, then followed by trimming, making holes, surface treatment, heat treatment, and installation.
This part of the process took approximately 2 days (1 day being the curing time of the epoxy resin after laminating in the mold).
In summary, rapid prototyping has the following advantages:
-
short lead time between idea and functional finished product
-
low cost compared to other processes
-
flexibility, easy to make modifications to the designed model
Disadvantages:
-
less suitable for production of larger quantities
-
the dimensional accuracy is more difficult to maintain, compared to, for example, a CNC machined mold.
